I created a VAT (Vertex Animation Texture) animation because I found them incredibly beautiful when applied to VFX. This project was a joy to work on, and I loved every step of the process. I also wanted to dive deeper into Houdini, as I see the incredible potential and beauty that the software offers for creating stunning VFX.
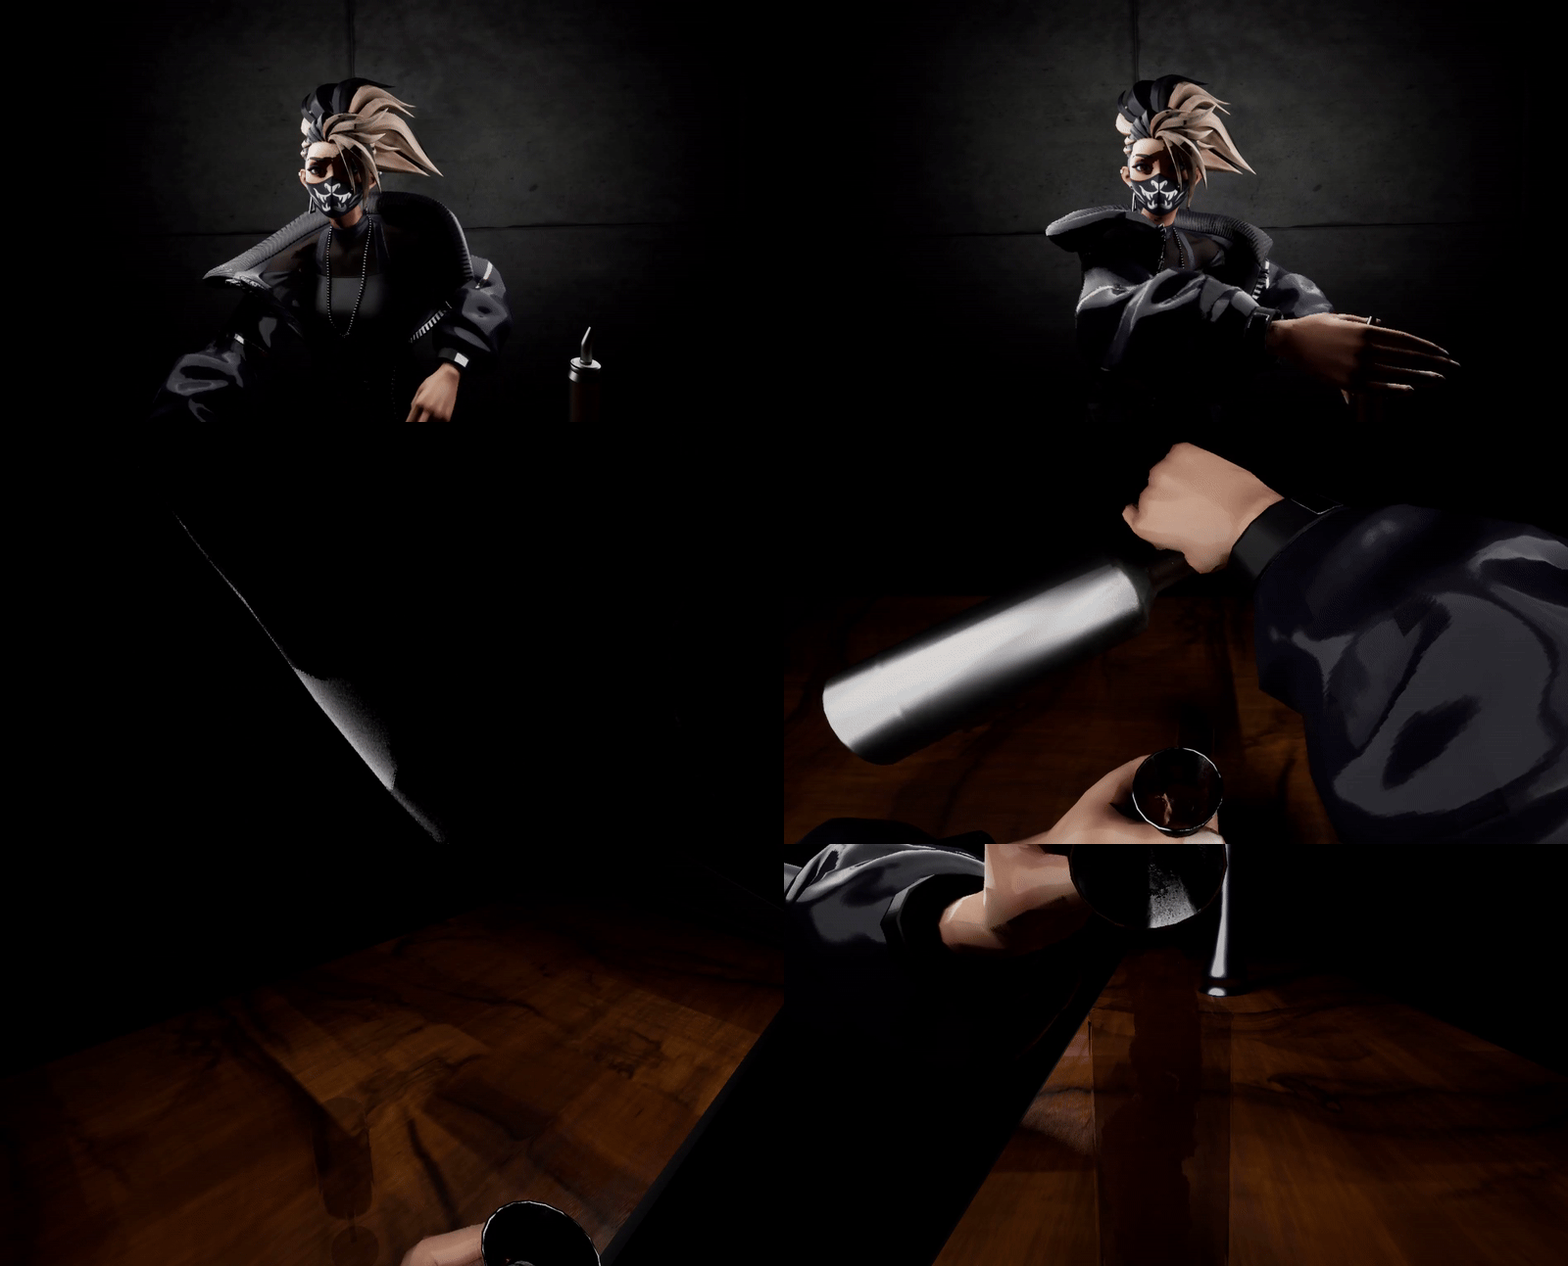
Last iteration: added materials, matched animations, and implemented spline camera movement! Cheers!
Wip: CameraPosition and lighting Changes.
Animating the Vision: From Maya to Houdini to Unreal
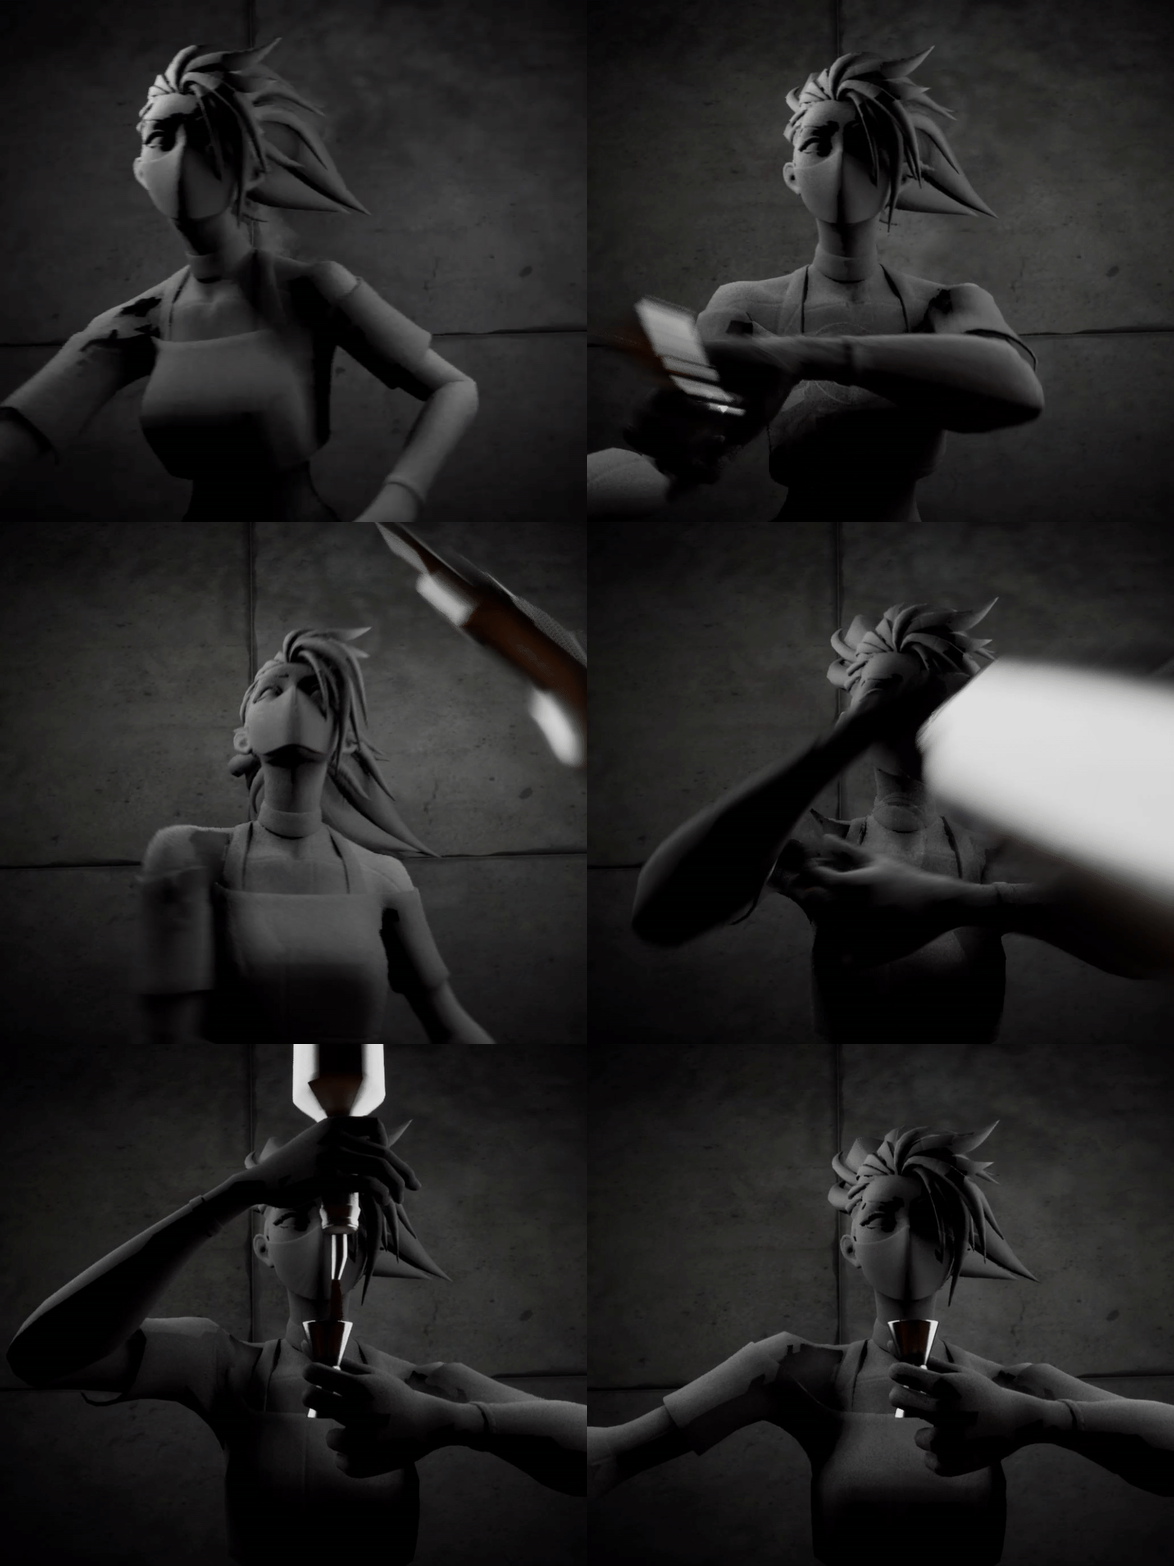
Working with animations and lighting was easily one of the most fun parts of the process. Choosing the right materials and pairing them with lighting that complemented their look felt like the cherry on top — it really brought the whole vision to life.
The real boss fight, though, was understanding how animation data moves through the pipeline. The animation itself was created by my incredibly talented friend Philip Anderson, who worked in Maya. From there, I brought the animation into Houdini so it could interact with my fluid simulation, and finally into Unreal Engine for full project integration.
That handoff between tools came with a lot of hidden complexity — FPS mismatches, substeps, and how each software interpreted timing or baked keys could completely change the result. But working through those issues ended up being a super valuable learning experience. It gave me a deeper understanding of how animation data travels and behaves across different platforms — something I’ll definitely carry into future workflows.
Getting Fresnel to Work on Translucent VAT Shaders
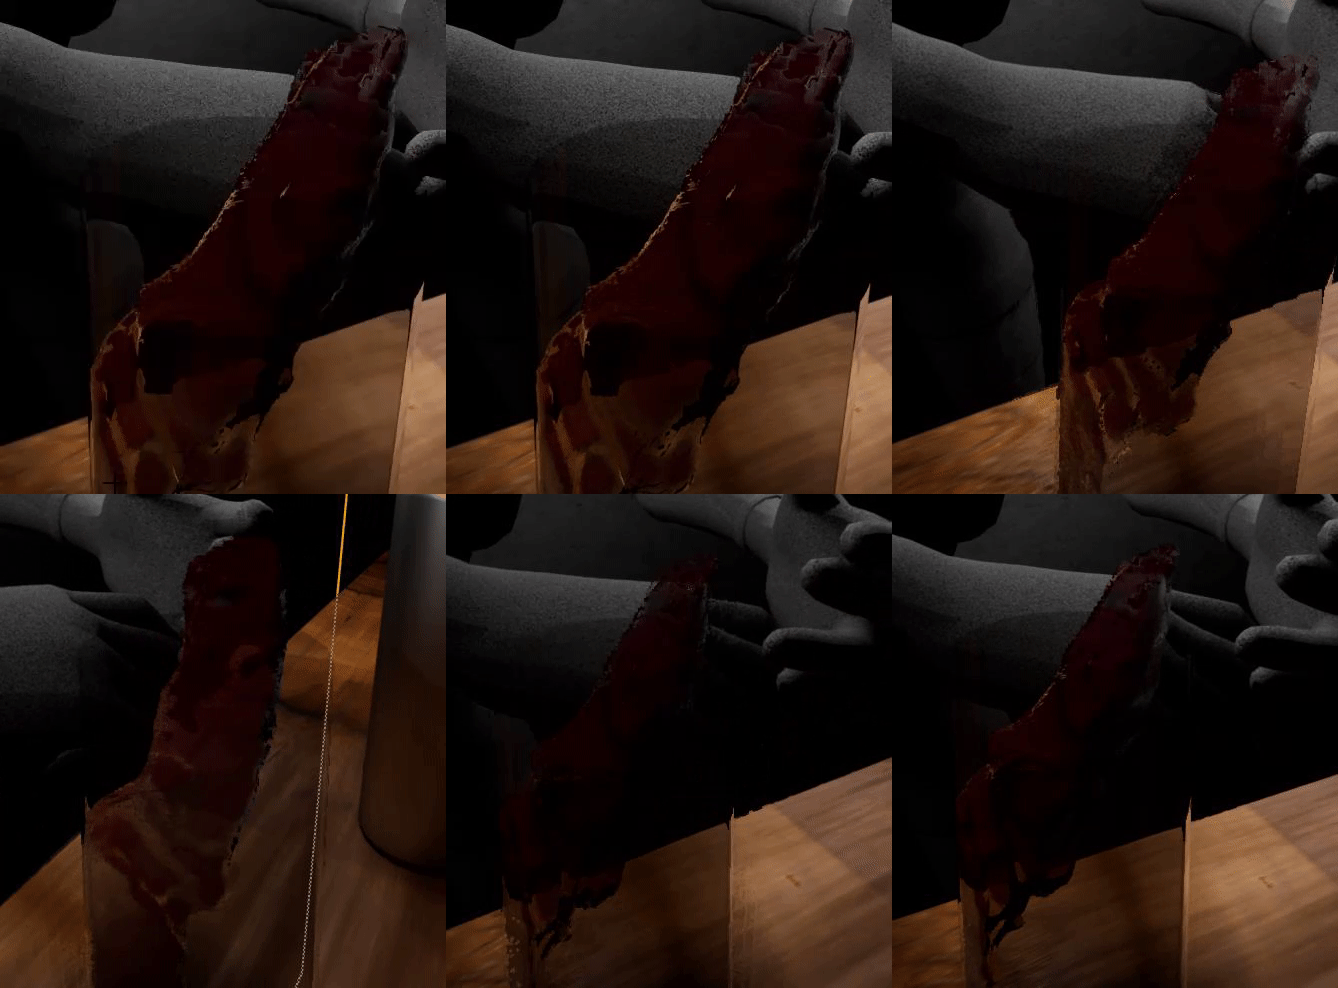
Creating the shader for my VAT came with its own set of challenges — especially when it came to applying Fresnel effects to a translucent material. By default, Unreal’s translucent materials don’t support traditional Fresnel shading the same way opaque materials do. That’s because the lighting model for translucency bypasses some of the standard surface shading logic, making it harder to get that nice edge glow or angle-based falloff you’d expect.
The fix, though, was surprisingly simple — once you know it. Switching the lighting mode in the material settings from default to something like Surface ForwardShading or Surface Translucency Volume allowed Fresnel to behave more predictably. After that, adding a standard Fresnel node worked just like expected, and the shader finally gave that nice layered depth and light wrap that sells liquid or glass-like surfaces.
Fixing Jitter: UV Precision, Legacy VAT, and DOP Force Chaos
To stabilize things, I eventually had to enable UV precision and switch over to the VAT Legacy solution. Without that, the vertices were constantly jittering — subtle at first, but enough to ruin the illusion. Another source of jitter turned out to be the forces I was using in my DOP network. Since the simulation wasn’t physically accurate, I had been faking it by applying forces to keep the liquid inside the cup. It got the general look across, but the setup was messy. The imbalanced forces introduced instability that showed up loud and clear once baked into the VAT. Tiny missteps in the physics became huge visual artifacts in the final mesh.
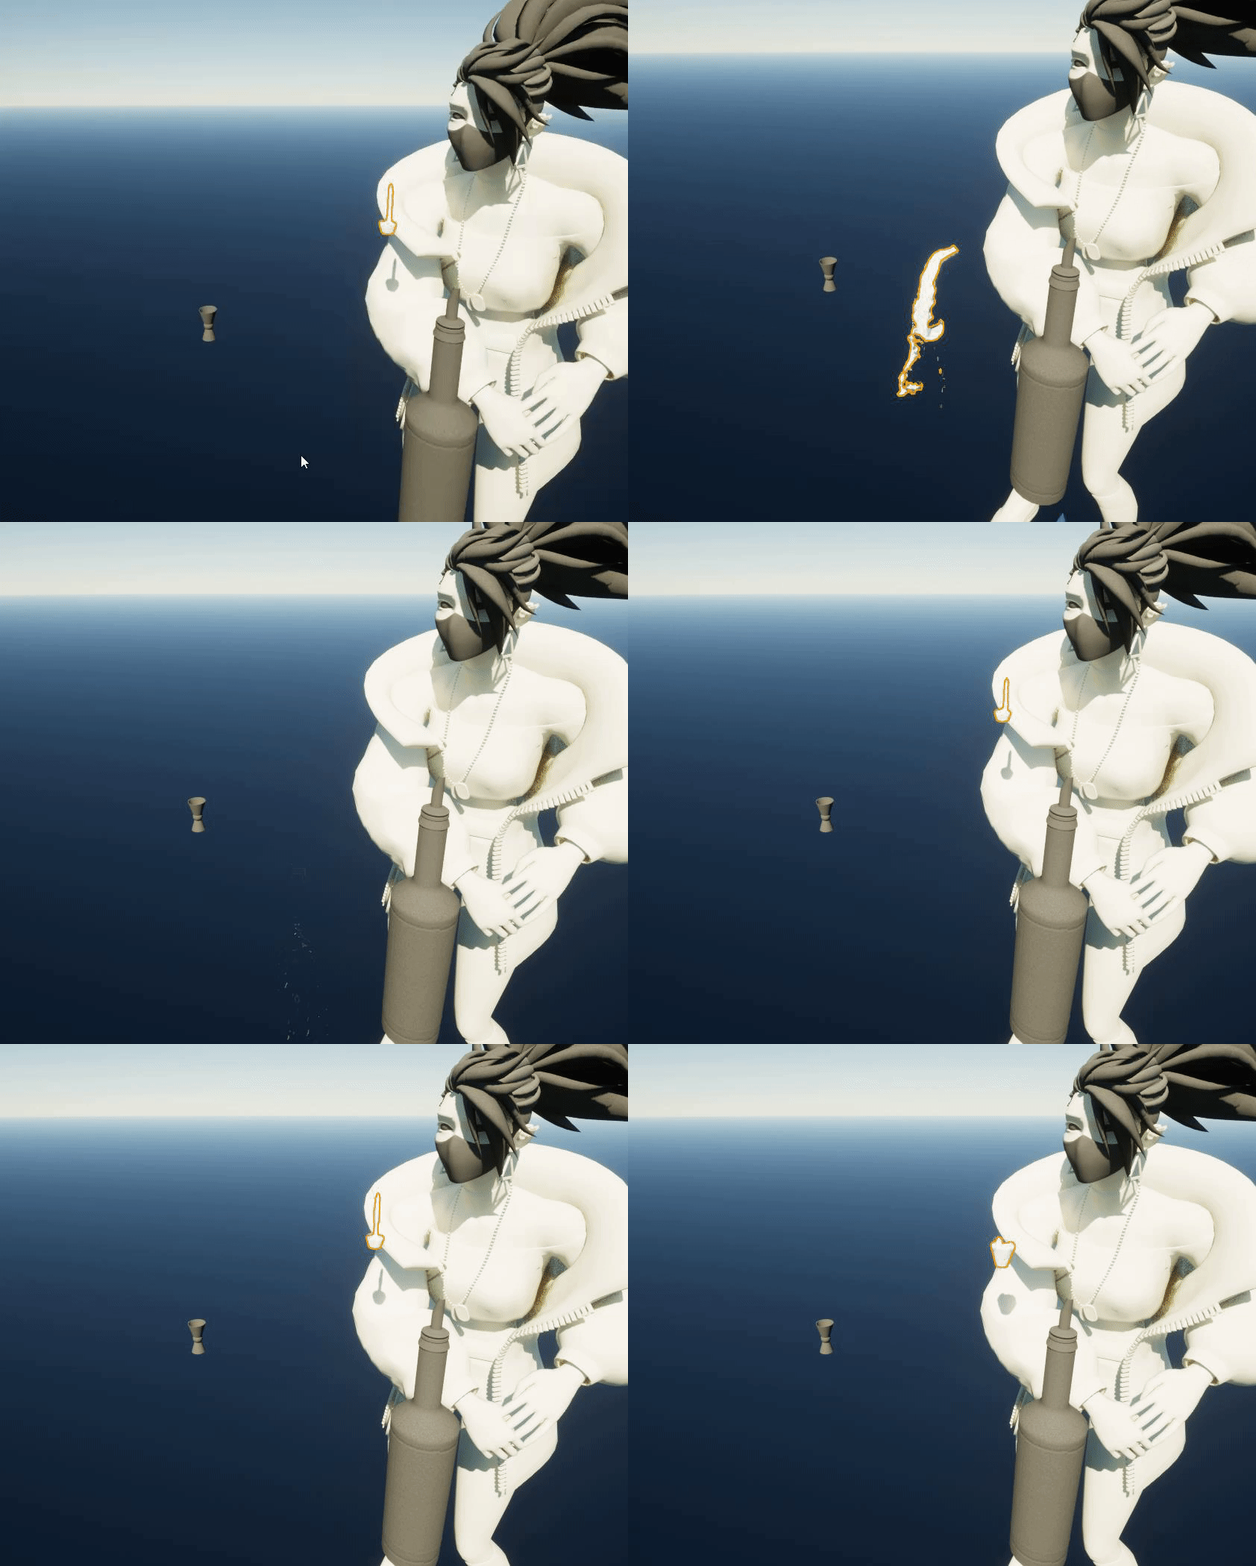
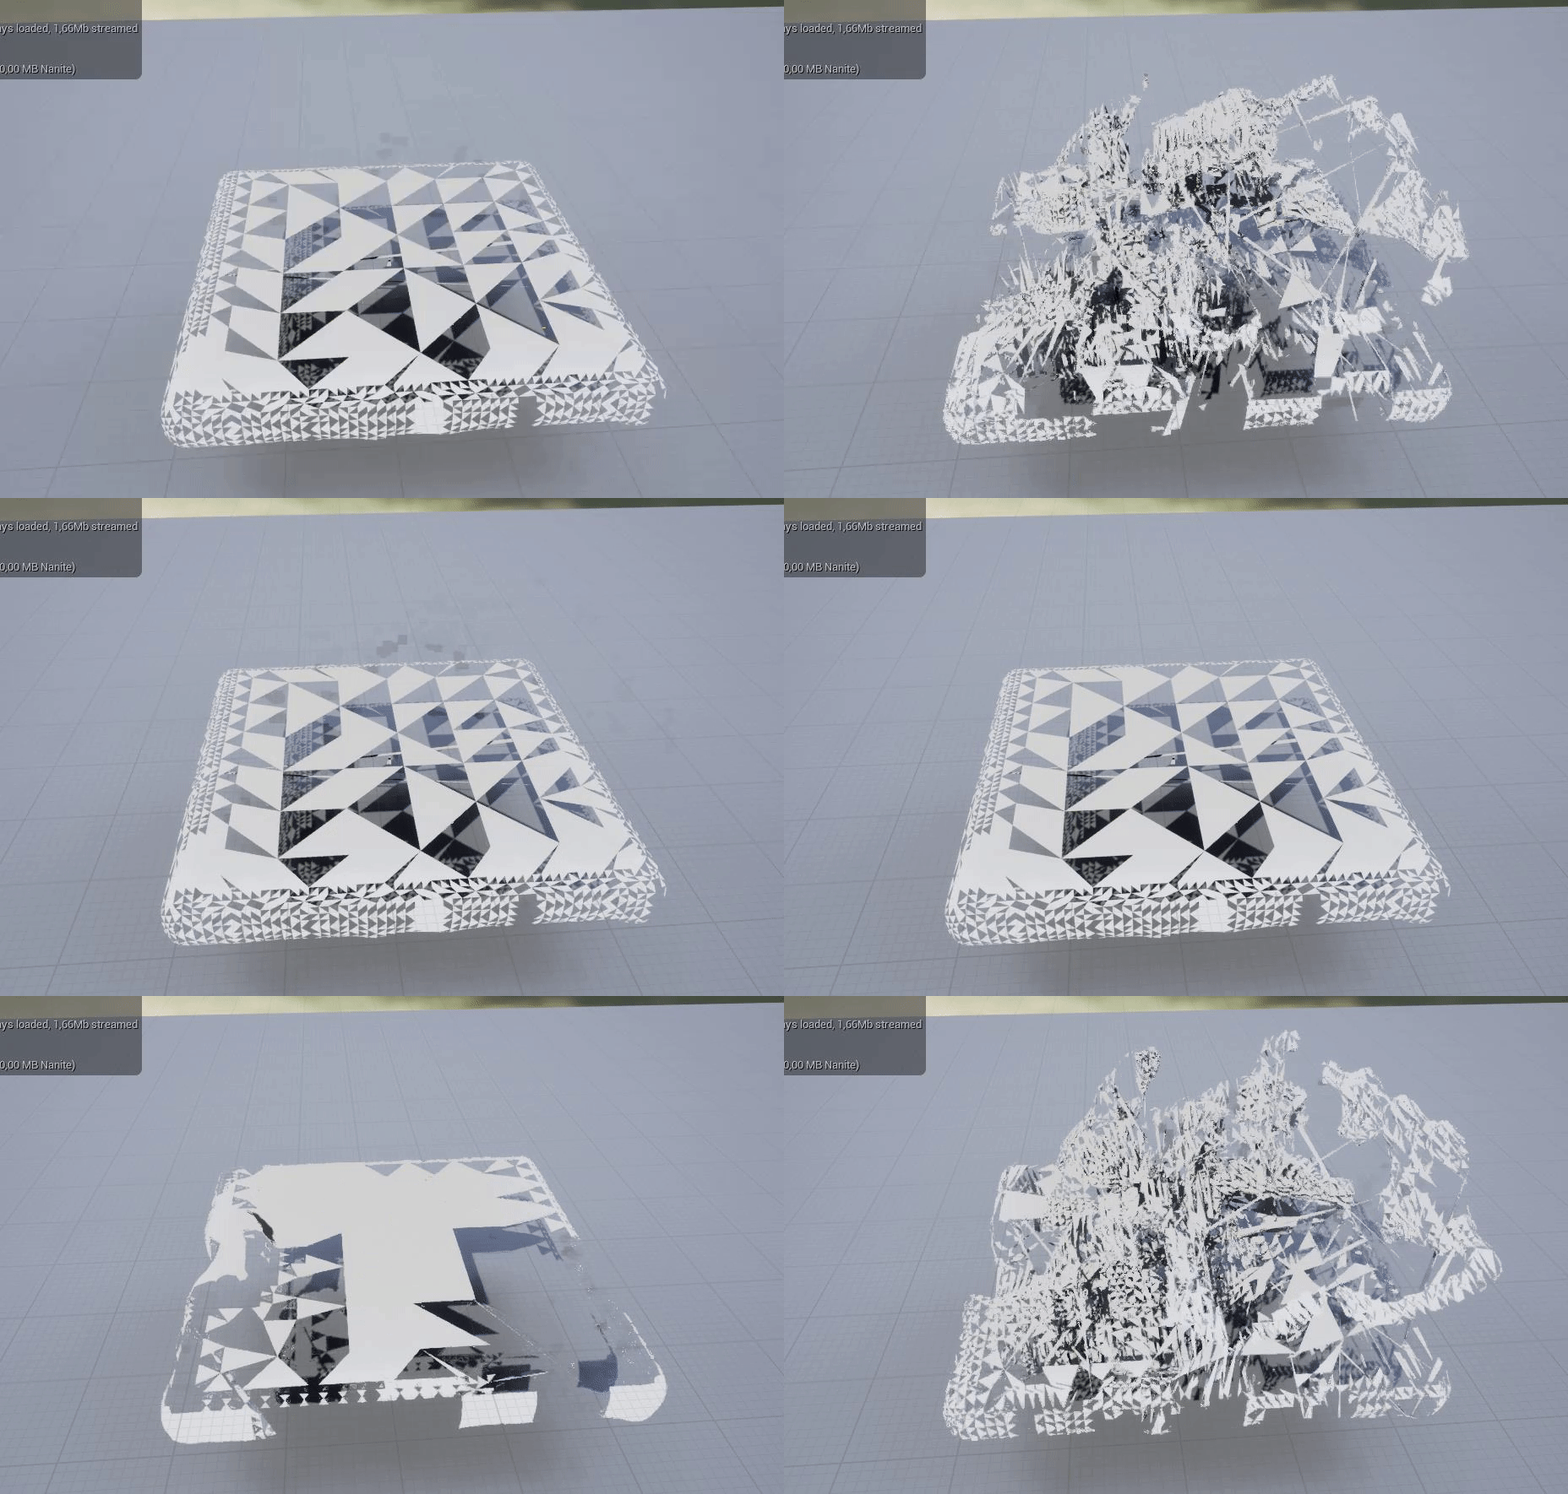
Importing the VAT texture came with some frustrating and poorly documented issues.
Digging through countless blog posts pushed my patience and mental stamina to the limit. One of the biggest problems was empty data inside the VAT textures — without it, the quads wouldn’t render correctly at all. To make things worse, the import plugin was extremely fragile. In certain versions of Unreal, it was outright broken. The whole process felt like trial and error, with no clear guidance or consistency across tools and engine versions.
